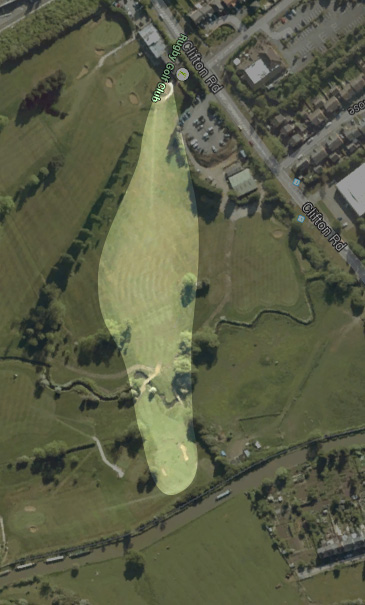
Rugby Golf Club
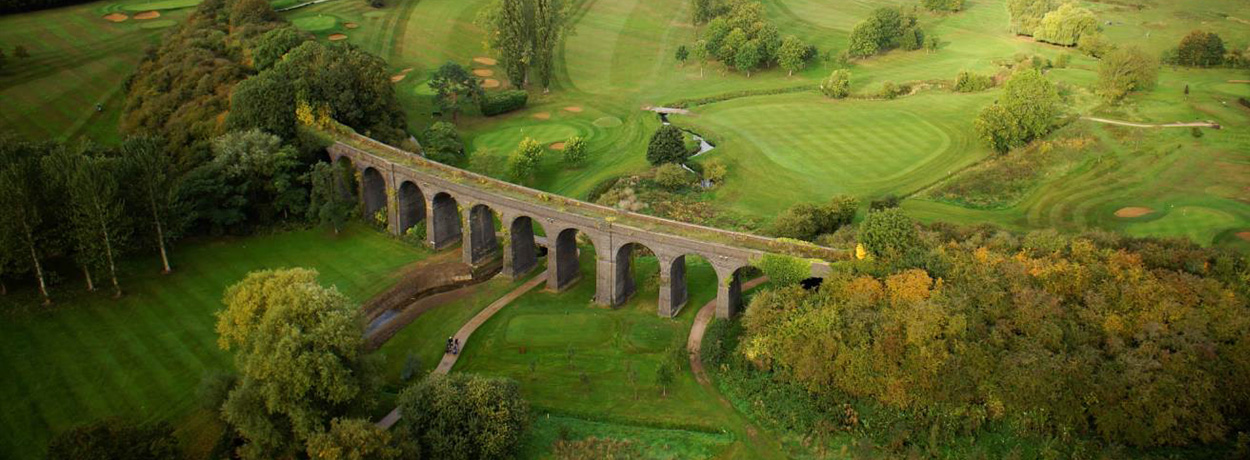
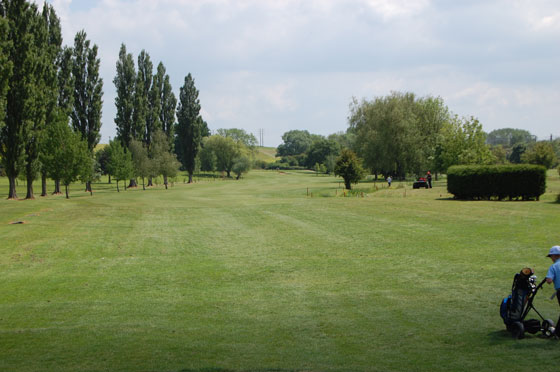
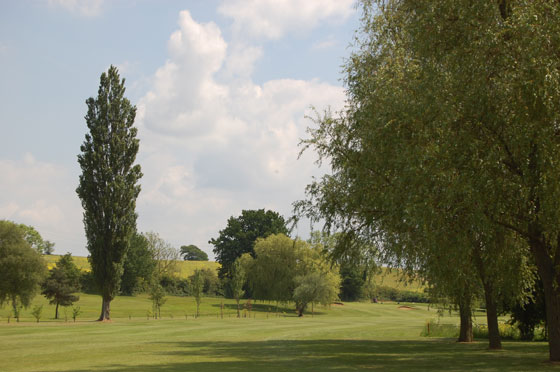
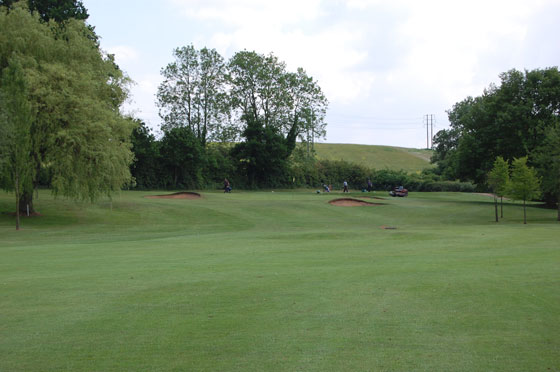
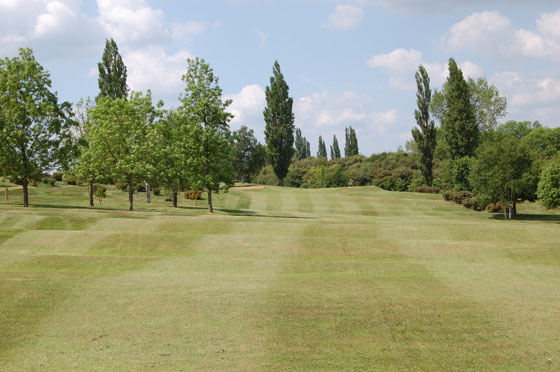
Rugby Golf Course Overview
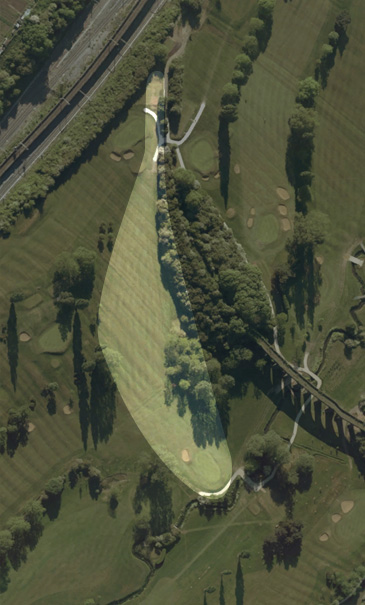
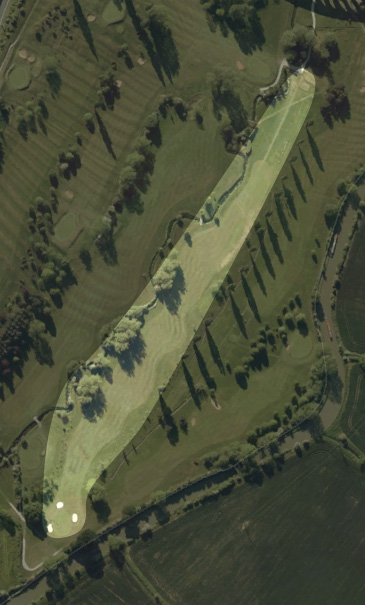
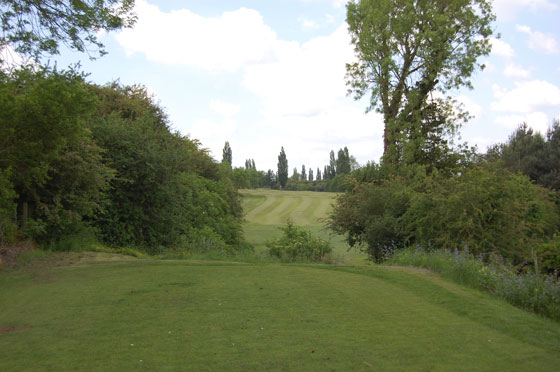
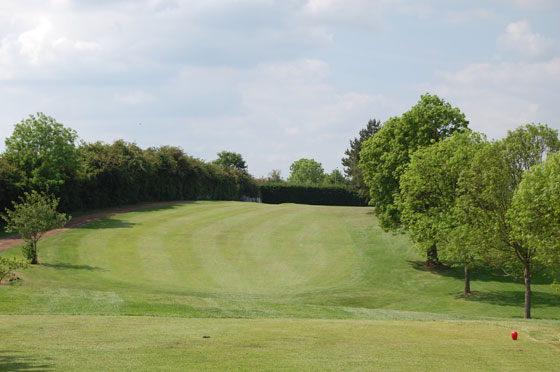
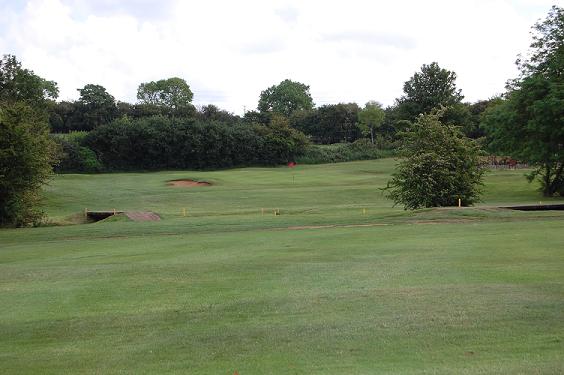
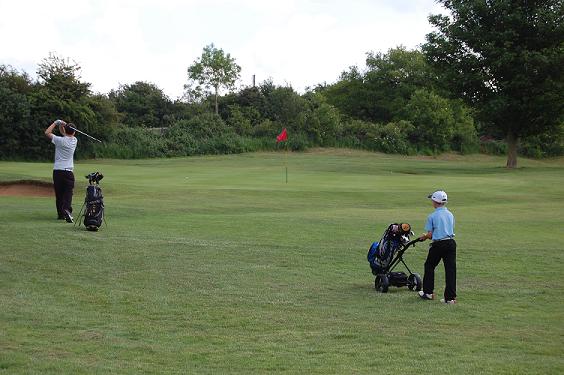
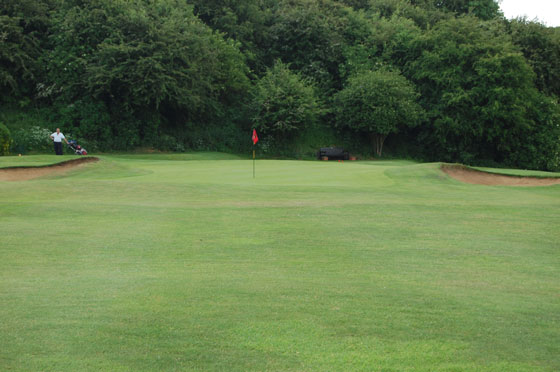
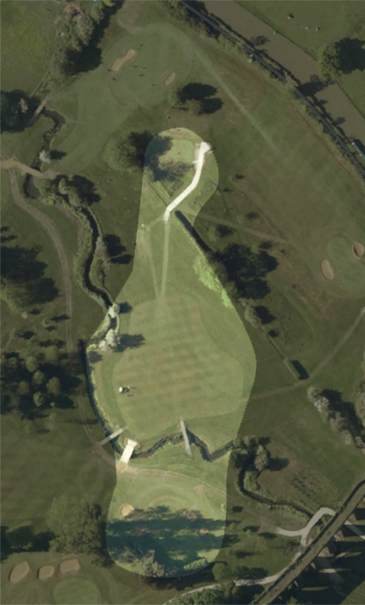
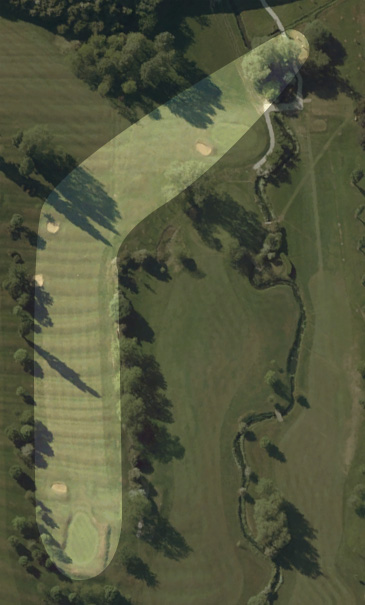
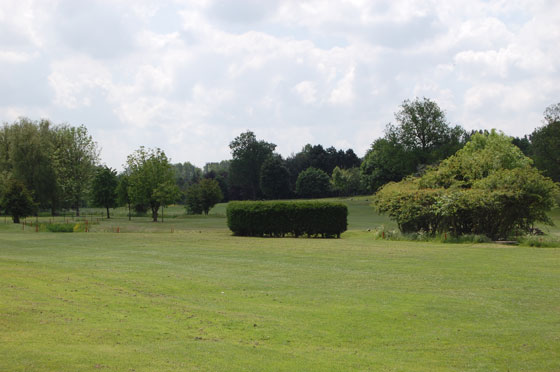
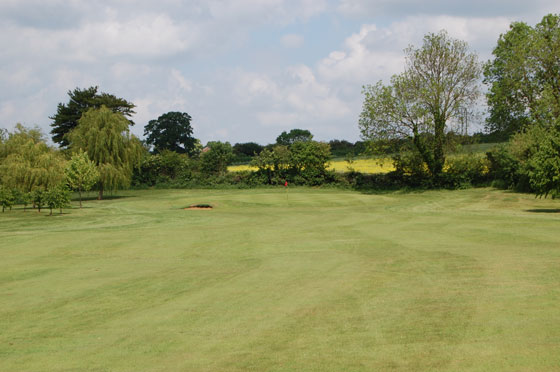
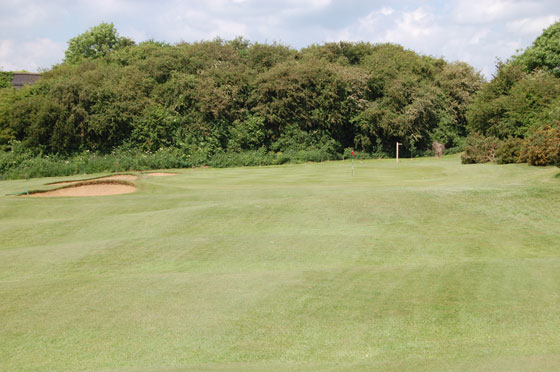
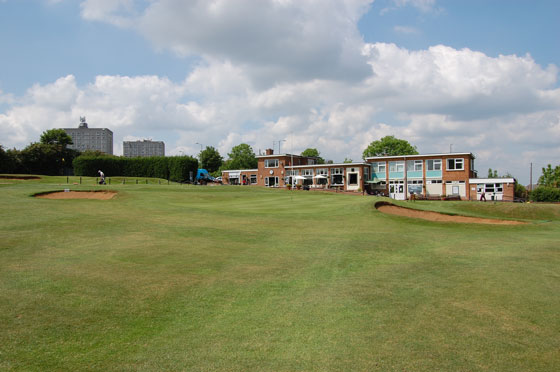
Hole 1 - Pimples
Par
4
White
292
Yellow
280
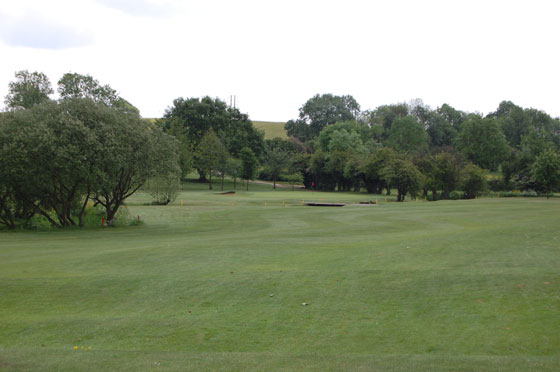
S/I
18
Red
271
S/I
17
Hole Overview
A pleasant start to your round, big hitters may attempt the green but a well positioned 3 wood leaves a short pitch into a green that is below you.

Pro Tip
Avoid left off the tee as you may be blocked out by the tree lined left side.
David Quinn
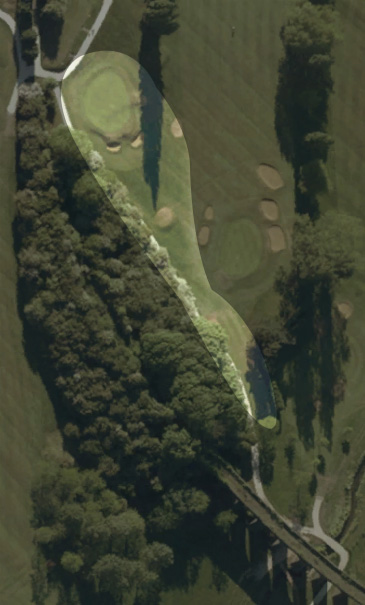
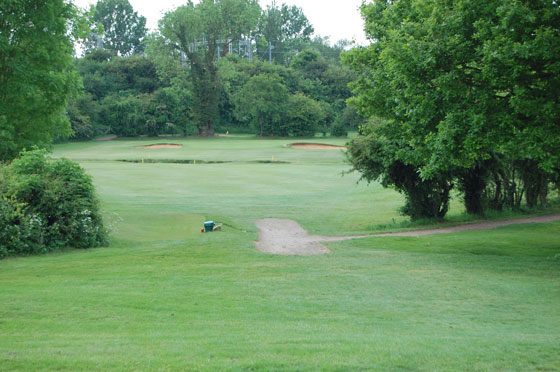
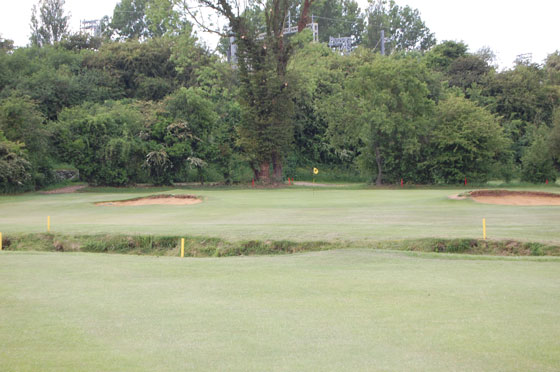
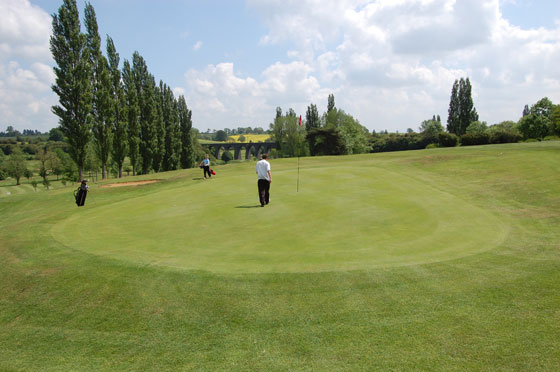
Hole 2 - Embankment

Par
3
White
130
Yellow
123
S/I
13
Red
101
S/I
12
Hole Overview
The shortest par 3 here at rugby has a elevated green position, with a two tier green, is no means a straight forward par 3.
Pro Tip
Whatever you do, don't finish short! Apart from the awkward slope and blind second shot the two small pot bunkers might get you!
David Quinn
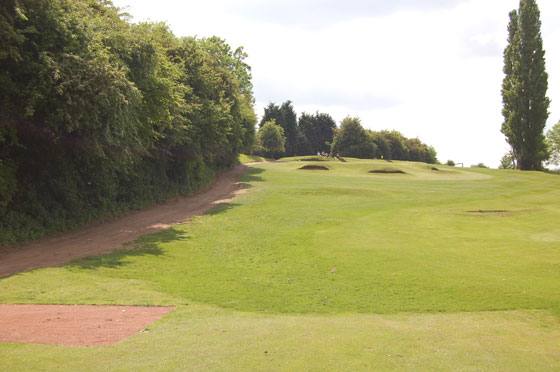
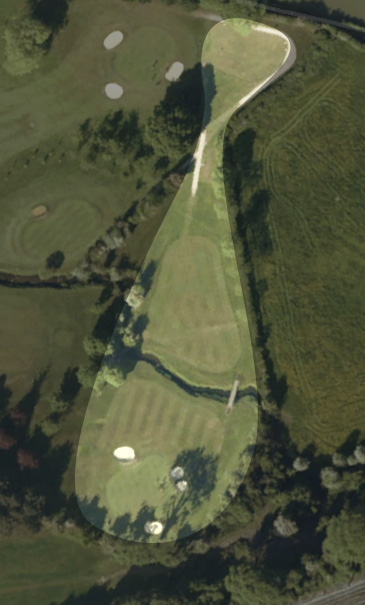
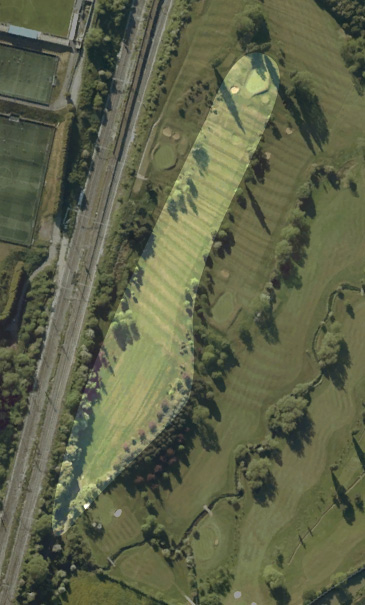
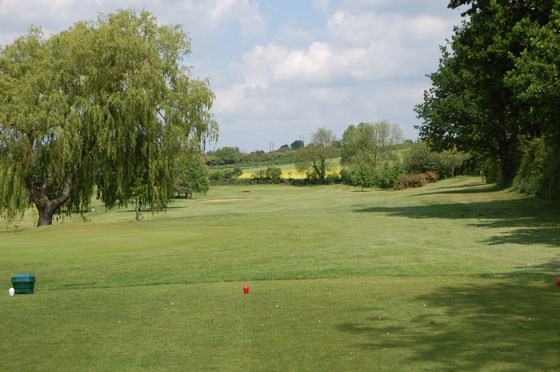
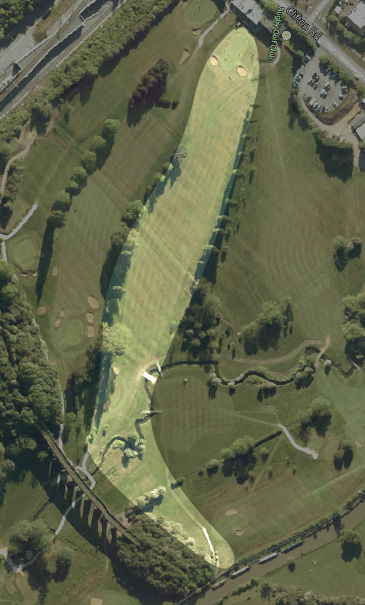
Hole 3 - Pond
Par
4
White
327
Yellow
309
S/I
17
Red
299
S/I
7
Hole Overview
A short but demanding par 4 dogleg left. The elevated tee position helps to visualize the shape of the hole where the slope can help bound the ball to the bottom leaving you with a pitch into the green.
Pro Tip
Avoid the left side again as the trees will block out your second shot into the green (have a peek to the right and check out the pin placement for hole No 8).
David Quinn
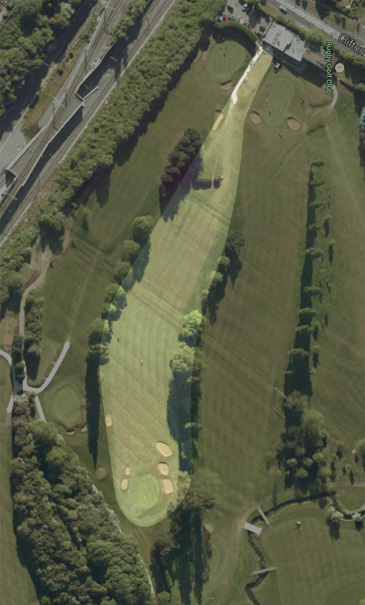
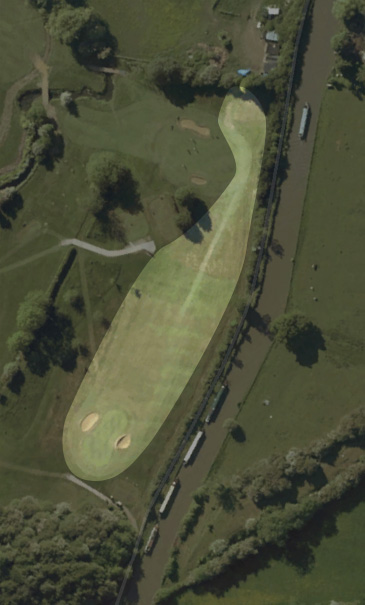
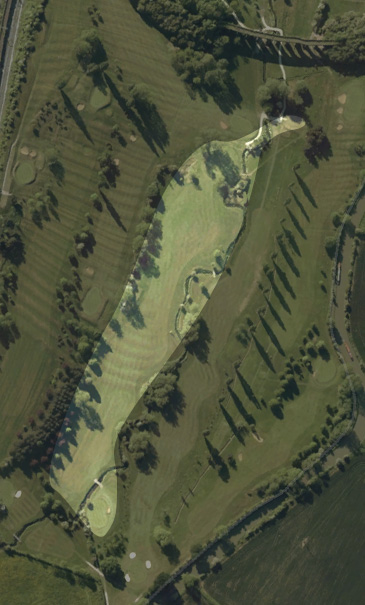
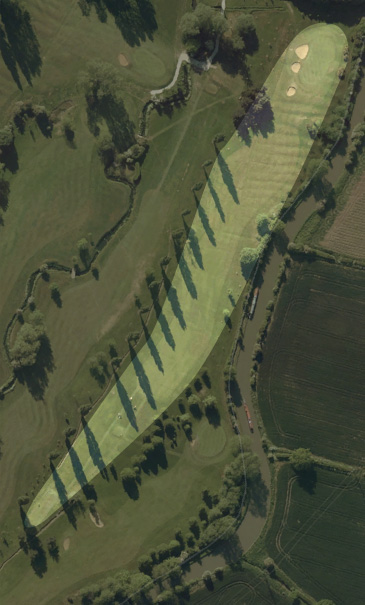
Hole 4 - Clifton Brook
Par
5
White
545
Yellow
510
S/I
1
Red
494
S/I
2
Hole Overview
The first of 3 par fives here at Rugby golf club, a reasonably long and straight hole which for many will take three shots to reach the green.
Pro Tip
Your second shot needs to be positioned to the right side to allow an easy approach into the green.
David Quinn
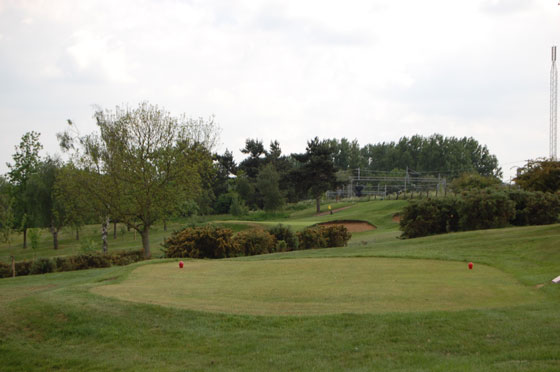
Hole 5 - Kent
Par
3
White
174
Yellow
169
S/I
10
Red
129
S/I
15
Hole Overview
The prevailing winds can made this a good length par 3 early into your round. The green has a narrow entrance and guarded by three bunkers.
Pro Tip
Avoid left off the tee as the brook meanders left of the fairway, try to carry your iron shot all the way onto the green.
David Quinn
Hole 6 - Poplars
Par
5
White
494
Yellow
482
S/I
6
Red
414
S/I
4
Hole Overview
The narrow exit from the tee shot opens up onto an undulating fairway, with a long narrow green nestling into the slope.
Pro Tip
This early birdie opportunity requires a solid tee shot up the left side with the big hitters able to reach in two. Luck of the draw with your sloping lie though!
David Quinn
Hole 7 - Spectacles
Par
3
White
150
Yellow
134
S/I
14
Red
112
S/I
16
Hole Overview
One of Rugby golf club's smaller greens, the relatively small target is well guarded and again nestles into the slope.
Pro Tip
You need to be accurate but avoid missing left as the slope can kick the ball a long way down away from the green.
David Quinn
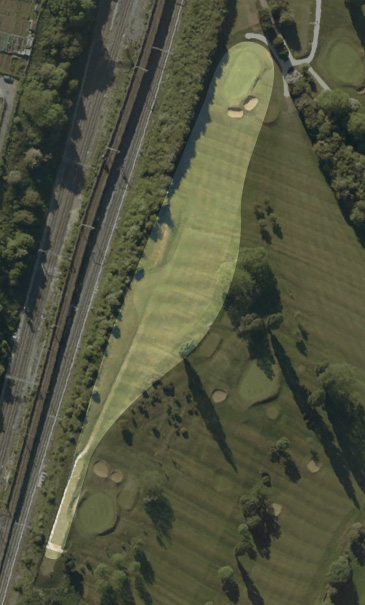
Hole 8 - Railway
Par
4
White
287
Yellow
263
S/I
9
Red
237
S/I
9
Hole Overview
The player needs to use their golfing brain. A longer tee shot requires a tricky pitch from a sloping lie to an elevated green.
Pro Tip
As the name suggests avoid a tee shot left onto the railway, a good mid iron lays you up onto the flat allowing a straight forward pitch onto the green.
David Quinn
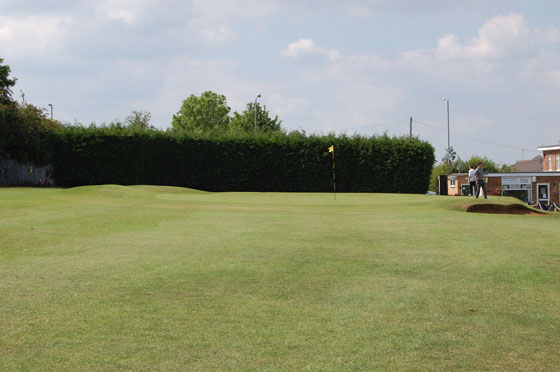
Hole 9 - Braids
Par
3
White
235
Yellow
223
S/I
4
Red
215
S/I
18
Hole Overview
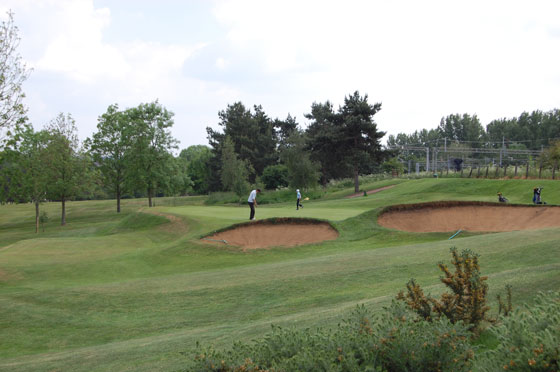
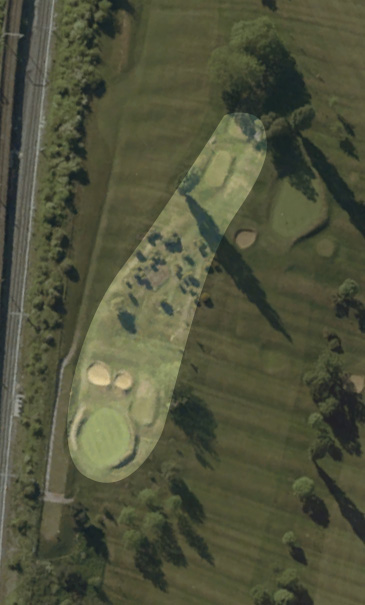
A very difficult par 3 to finish off the front nine. The length is its main feature with a green protected front and rear with bunkers.
Pro Tip
This hole needs a solid long iron / fairway wood / driver to reach. You don't want to be long and may need to accept it will need a pitch and putt for your par.
David Quinn

Hole 10 - Butlers Leap
Par
4
White
336
Yellow
328
S/I
16
Red
323
S/I
5
Hole Overview
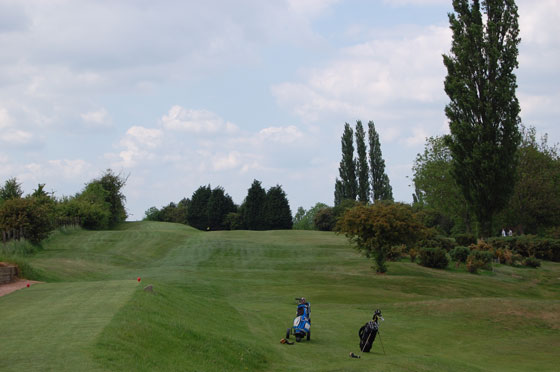
Another elevated tee shot that requires a mid iron to set you up for a second shot to a sloping green.
Pro Tip
Left is out of bounds so another guided tee shot is required. avoid missing this green big as the severe slope back to front makes your chip very difficult indeed.
David Quinn
Hole 11 - Paddock
Par
3
White
166
Yellow
162
S/I
15
Red
160
S/I
14
Hole Overview
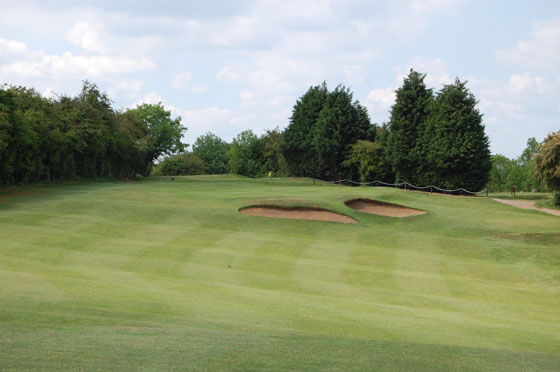
A mid length par 3 with a very narrow green protected either side by green side bunkers.
Pro Tip
An accurate tee shot is needed again to a small green short here is no problem.
David Quinn
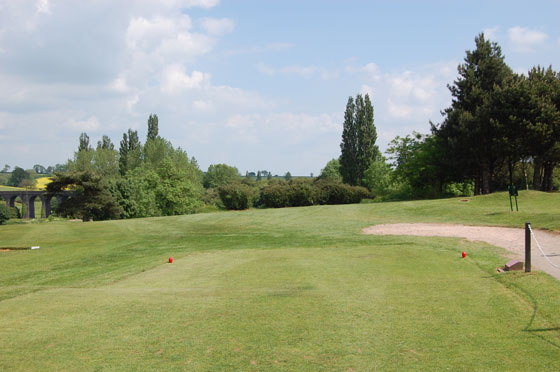
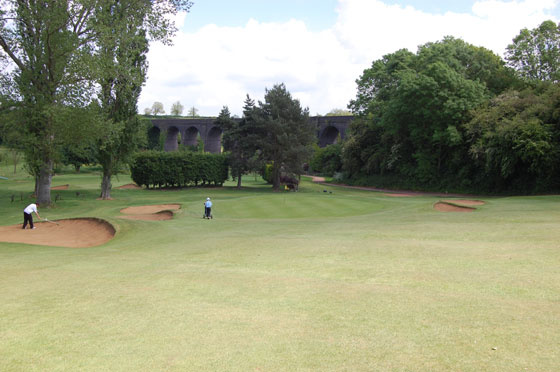
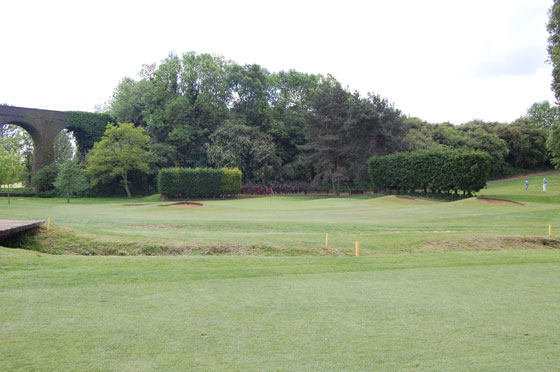
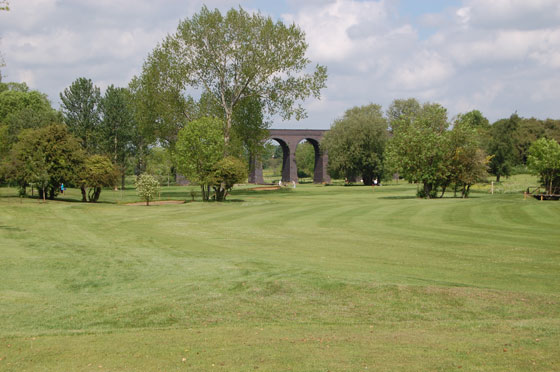
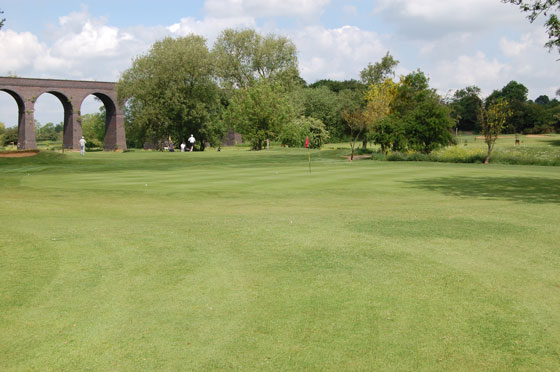
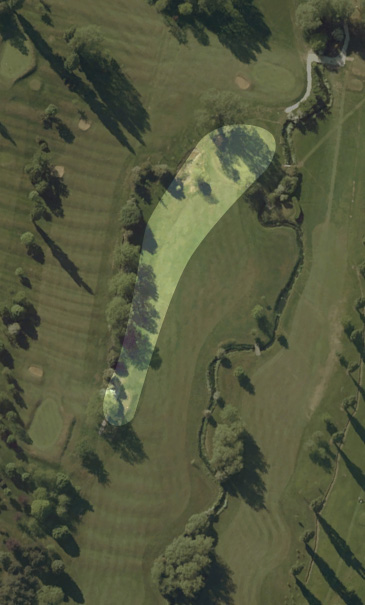
Hole 12 - Viaduct
Par
3
White
198
Yellow
185
S/I
8
Red
143
S/I
10
Hole Overview
A good par three to finish a run of tough holes, the brook which dissects the hole can often catch a miss hit tee shot and another green running away from you.
Pro Tip
You must avoid missing this green long and to the right as you will be left with an almost impossible chip to get the ball close on a heavy contoured green.
David Quinn
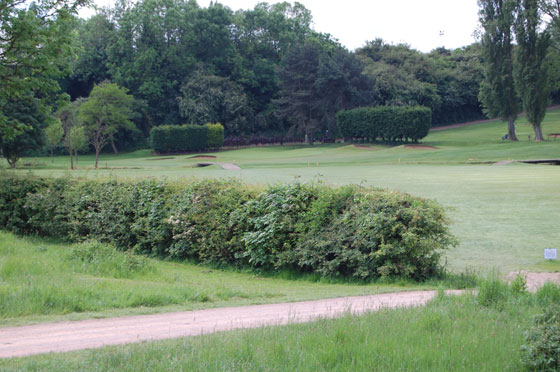
Hole 13 - Ridge and Furrow
Par
4
White
386
Yellow
362
S/I
2
Red
352
S/I
1
Hole Overview
A dog leg left with another difficult fairway to play from. The green is surrounded by a raised bank with a very narrow entrance.
Pro Tip
The important tee shot must be out towards the right. The second shot difficulty varies on your lie but a high approach will land softly on the green within the surround.
David Quinn
Hole 14 - Ashes
Par
3
White
185
Yellow
176
S/I
12
Red
168
S/I
13
Hole Overview
A straight forward par 3 as you see it. A small cluster of trees guards the right side with a feature pond on the left.
Pro Tip
Attempt to fly the ball all the way into this green as again the opening is a narrow one.
David Quinn
Hole 15 - Double Cross
Par
5
White
492
Yellow
484
S/I
5
Red
388
S/I
6
Hole Overview
A great par 5 which crosses the river twice, a very tempting second shot awaits if you hit a good tee shot with the brook running just in front of the green.
Pro Tip
Either be sensible and lay up for two or go for it and have a putt for an eagle! Another great decision hole late in the round.
David Quinn
Hole 16 - Canal Turn
Par
4
White
341
Yellow
331
S/I
11
Red
320
S/I
8
Hole Overview
A tricky par 4 to start the home stretch, tight tee shot with strategic bunkers into a relatively receptive sloped green.
Pro Tip
Avoid right off the tee and you will be rewarded with a short iron into the green. Be careful not to overshoot as the slope will run away from you for your next shot.
David Quinn
Hole 17 - Brindleys
Par
4
White
395
Yellow
385
S/I
7
Red
307
S/I
11
Hole Overview
Long straight par 4 lined with popular's down the left side. Long narrow green protected by bunkers on the left side.
Pro Tip
Tee shot here is all important to allow a mid iron into the green, avoid up the right as you can be blocked out by the trees.
David Quinn
Hole 18 - Wrecker
Par
4
White
433
Yellow
423
S/I
3
Red
410
S/I
3
Hole Overview
Very tough finishing hole which firstly requires a good carry off the tee to a dog leg right. A long blind second shot uphill to a narrow green guarded by two bunkers at the front.
Pro Tip
This hole should be played like a par 5! The second shot is completely blind and long is out of bounds. A 4 feels like a birdie on this hole.
David Quinn
Created by intelligentgolf version 10.1.2.